How to access your Raspberry Pi 4 desktop from any device
In this post I will explain step by step how to access to your Raspberry Pi desktop from any device via VNC.
I know what some people may say “Why would you want to do that? why not just to access it via ssh?”. However, since I am newbie in the world of the Raspberries, I wanted to play a little bit with my new Raspberry and see what I can do with it. Also, these can be adapted to many other Linux distributions, and as a former sysadmin, sometimes the developers ask you for access to the desktop of a Linux system installed in a data center without any monitor connected to it.
Therefore, in this post I will explain step by step how to access to your Raspberry Pi desktop from any device via VNC. First, I will explain how to do it assuming that you have a screen connected to your Raspberry. Then in the second part, I will explain how to emulate a connected screen (dummy screen), so you can access it any time(even after reboot) without any screen connected.
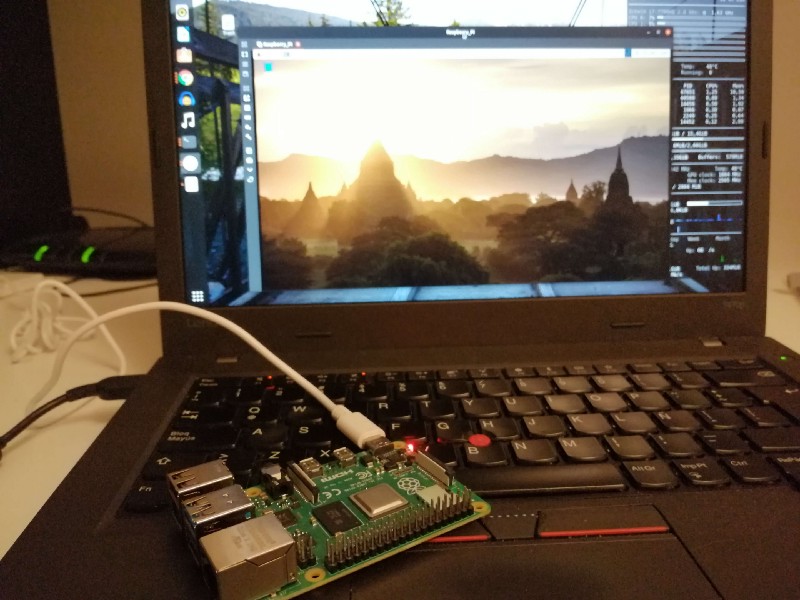
This post was made using a Raspberry Pi 4 Model B, with 4GB of Ram memory and the latest Raspberry Pi OS (32-bit) with desktop and recommended software.
1.- Configuring VNC
Assuming that you have a clean OS installation and a screen connected to your Raspberry Pi, the first step is to check your boot settings to see if the Desktop GUI is enable. Then in a terminal type
sudo raspi-config
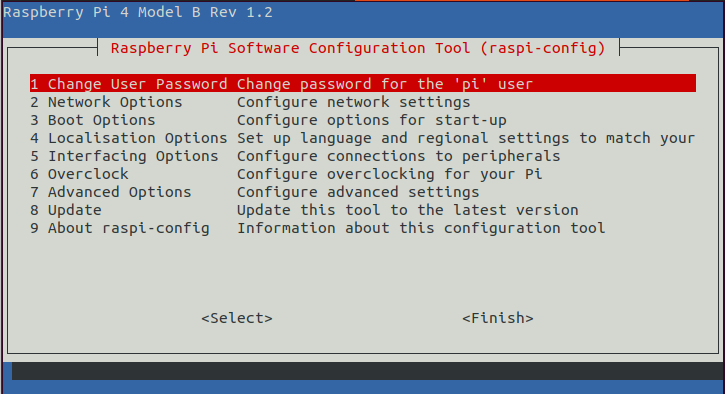
Then, select option 3 (Boot Options), then option B1 (Desktop / CLI), and finally select option B3 or B4 (Desktop). After that just select “Finish” and reboot.
The next step is to configure the VNC service in your Raspberry Pi. For that, edit (or create) the file /etc/vnc/config.d/common.custom with your favorite text editor (in my case vim, but if your don’t feel comfortable with it you can also use nano)
sudo vim /etc/vnc/config.d/common.custom
and add the line Authentication=VncAuth. Finally, restart the VNC service to apply the changes
sudo systemctl restart vncserver-x11-serviced
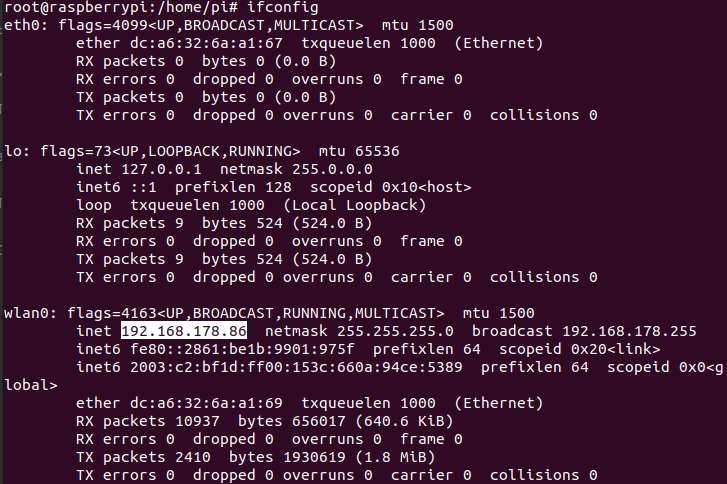
Now we can access to the desktop of our Raspberry from any device with a VNC client. However, in order to do it you will need the IP address of your Respberry, if you don’t know it just type the following in your terminal
ifconfig
For most of the home routers, the IP address is usually the number starting with 192
In my case, I will use my personal computer (Ubuntu) to access my Raspberry desktop, so I use Remmina for that. To configure a new VNC connection, just click into the top left corner (New connection profile) and add all the necessary information
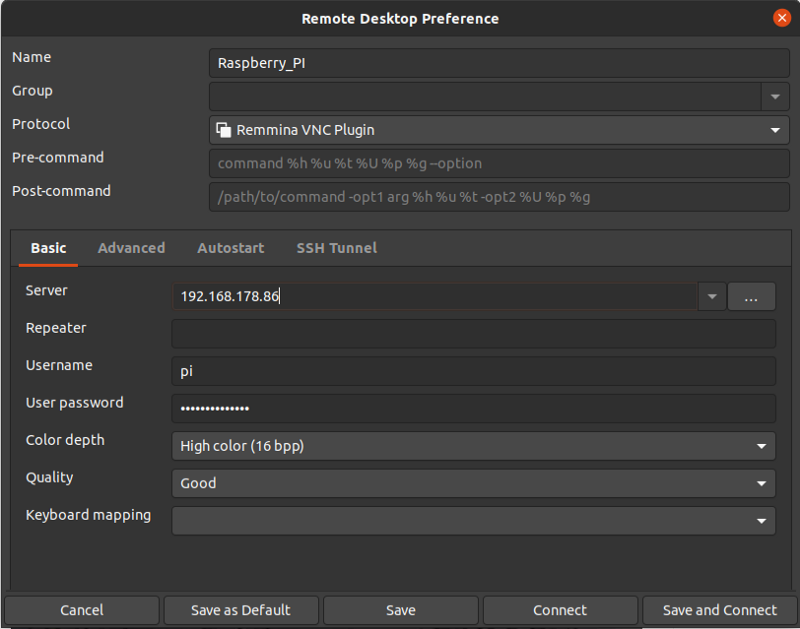
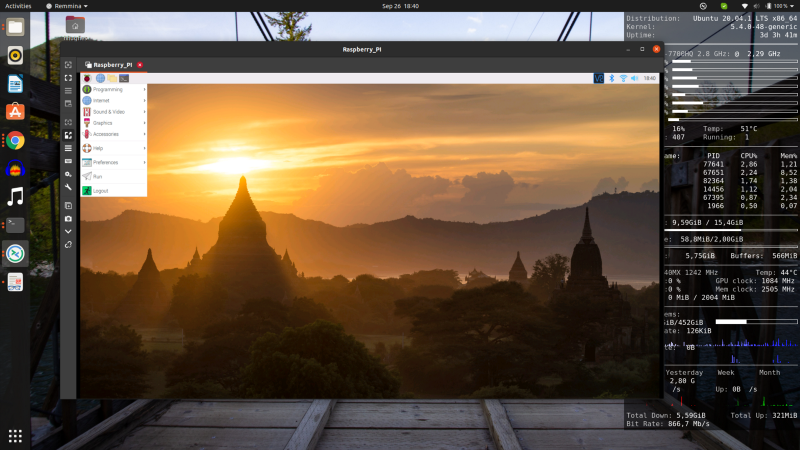
Now you have access to your Raspberry desktop
2.- Create a dummy screen
As I already mentioned, the drawback of the this solution is that you always need to have a screen connected to your Raspberry Pi. So, what if I can not do that? The solution is to create a dummy screen in the Raspberry Pi.
The first step is to install the xserver package for dummy video
sudo apt install xserver-xorg-video-dummy
after that, the next step is to create the configuration file of the dummy screen, so in the terminal write
sudo vim /usr/share/X11/xorg.conf.d/xorg.conf
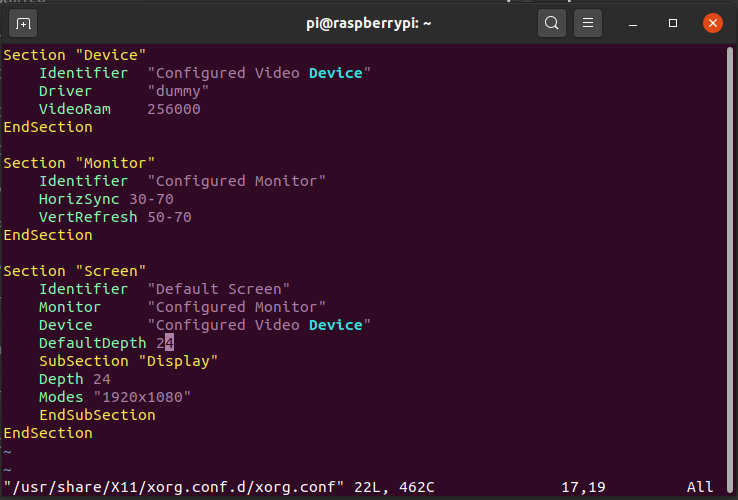
In my case, I want the default resolution to be 1920x1080, therefore in this new file add the following
Section "Device"
    Identifier  "Configured Video Device"
    Driver      "dummy"
    VideoRam 256000
EndSection
Section "Monitor"
    Identifier  "Configured Monitor"
    HorizSync 30-70
    VertRefresh 50-70
EndSection
Section "Screen"
    Identifier  "Default Screen"
    Monitor     "Configured Monitor"
    Device      "Configured Video Device"
    DefaultDepth 24
    SubSection "Display"
    Depth 24
    Modes "1920x1080"
    EndSubSection
EndSection
and you should end with something like this
The last step is just to reboot the Raspberry.
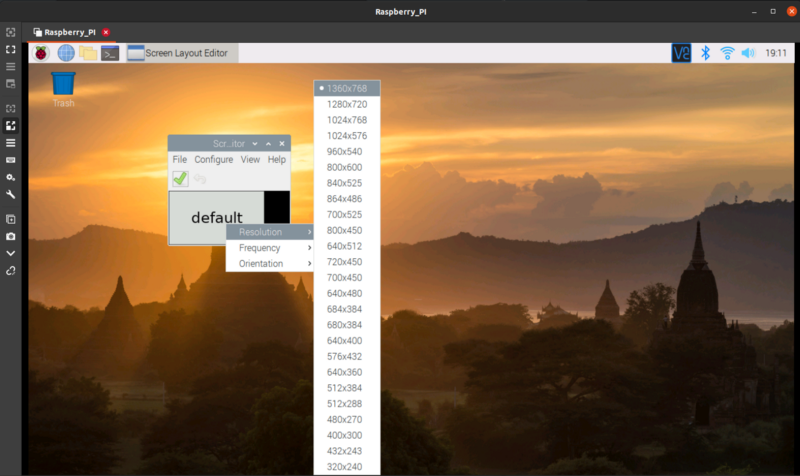
If you want to use a higher resolution and this one is not available
Then you may need to increase the video memory. To check if the video memory is the problem, take a look into the logs by writing in your terminal
less /var/log/Xorg.0.log
If you find a line with the screen resolution that your are looking for followed by an “insufficient memory for mode”
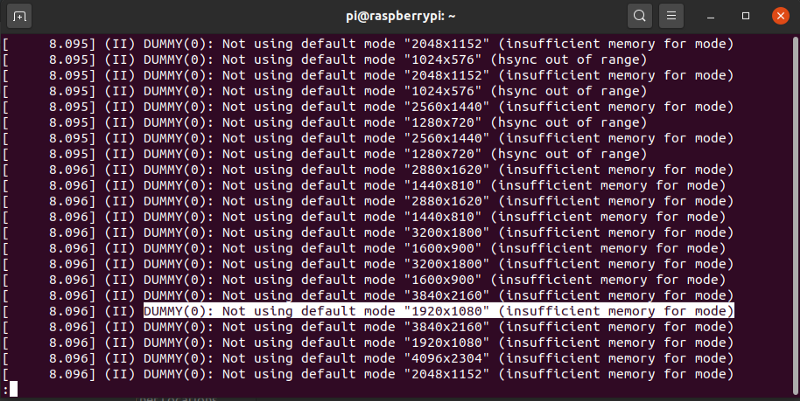
then you will need to increase the value of the VideoRam parameter in the /usr/share/X11/xorg.conf.d/xorg.conf config file. In my case 256 Mb (256000 Kb), where enough to hold a 1920x1080 resolution.
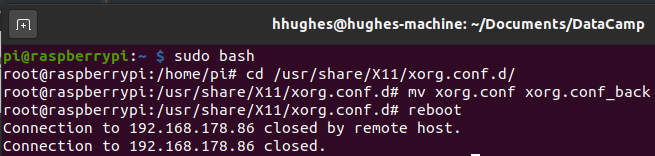
Finally, if you want to use a physical monitor again, then the only thing you need to do is to disable the dummy screen, which means disable the config file corresponding to it, and reboot the system. Therefore, in the terminal write the following
cd /usr/share/X11/xorg.conf.d/
sudo mv xorg.conf xorg.conf_back
sudo reboot
I hope you found this post useful. If you have any question, just leave it in the comments and I will answer you as soon as I can.
Have fun!
References
- https://www.thedigitalpictureframe.com/screen-sharing-with-a-raspberry-pi-4-buster-and-a-macos-computer-catalina/
- https://askubuntu.com/questions/1033436/how-to-use-ubuntu-18-04-on-vnc-without-display-attached
- https://www.x.org/releases/current/doc/man/man5/xorg.conf.5.xhtml#heading15
If you notice any mistakes or errors in this post, please don’t hesitate to contact me at aabecksa@gmail.com and I will be more than happy to correct them right away!